Table of Contents
Introduction
There’s a growing trend among gamers and tech-savvy beginners—building your own gaming PC! This deepens your understanding of your machine and provides a sense of accomplishment. Imagine powering up a rig you assembled optimized for your favourite games. This guide will walk you through each step, ensuring your first build is smooth and enjoyable.
Setting Your Budget and Goals
Determining Performance Needs
Before you start shopping, it’s vital to determine what you want out of your gaming PC. Are you aiming for high-end performance to run the latest games at max settings, or do you need a more modest setup for casual gaming and general use? Understanding your goals will help you prioritize which components to invest in.
Your budget will significantly affect your PC’s capabilities. A higher budget allows for powerful components that offer better performance and future-proofing. However, even a modest budget can result in a capable gaming rig if you make informed choices. Compare prices, read reviews, and watch for deals at a computer store like those in Salt Lake City to get the most bang for your buck.
Balancing Performance and Cost
It’s all about balance. While splurging on the best GPU is tempting, remember that other components like the CPU, RAM, and storage are also crucial. Aim for a balanced build where every part complements the other. This way, you avoid bottlenecks and ensure smooth performance across the board.
Choosing the Right Components
Essential Components Breakdown
Every gaming PC consists of several key components:
- CPU (Central Processing Unit): The brain of your PC. It handles most of the processing tasks. For gaming, a quad-core or higher CPU is recommended.
- GPU (Graphics Processing Unit): The heart of any gaming rig. It renders images, videos, and animations. The more powerful the GPU, the better your gaming experience.
- RAM (Random Access Memory): Essential for multitasking and smooth gameplay. Aim for at least 16GB for modern gaming.
- Storage: SSDs (Solid State Drives) are faster than traditional HDDs (Hard Disk Drives), leading to quicker boot times and game loading.
- PSU (Power Supply Unit): Powers all your components. Ensure it has enough wattage and is from a reputable brand.
- Case: Houses all your components. Choose one with good airflow and enough space for your build.
Key Specifications
Understanding specifications is crucial. For instance, a GPU’s VRAM (Video RAM) influences how well it handles textures in games. Similarly, a CPU’s clock speed and core count affect its multitasking ability. Familiarize yourself with these specs to make informed decisions.
Balancing Performance and Budget
A mid-range CPU paired with a powerful GPU can offer excellent gaming performance without breaking the bank. Allocate your budget wisely across components to ensure a well-rounded build.
Tools You’ll Need
Basic Tool List
Building a PC doesn’t require a lot of tools, but having the right ones makes the process smoother:
- Screwdrivers (preferably magnetic): These secure components in place.
- Anti-static wrist strap: Prevents static electricity from damaging sensitive components.
- Thermal paste (if not pre-applied): Ensures efficient CPU cooling.
Purpose of Each Tool
Each tool has its role. Screwdrivers secure the motherboard, PSU, and other components of the case. The anti-static wrist strap protects your hardware from static damage.
Additional Handy Tools
Other useful items include zip ties for cable management and a small flashlight to see into tight spaces. Having these on hand can make your build process much easier and more organized.
Preparing Your Workspace
Setting Up Your Workspace
A clean, well-lit workspace is crucial for building a PC. Clear a large table and ensure you have enough room to spread out your components.
Importance of Static Electricity Protection
Static electricity can damage delicate components. Work on a non-carpeted surface and consider using an anti-static mat. Always ground yourself before touching a metal object or wearing an anti-static wrist strap before handling components.
Organizing Components
Lay out all your components and tools before you start. This organization helps you keep track of everything and ensures you don’t lose any small parts. Keeping the manuals handy for quick reference is also a good idea.
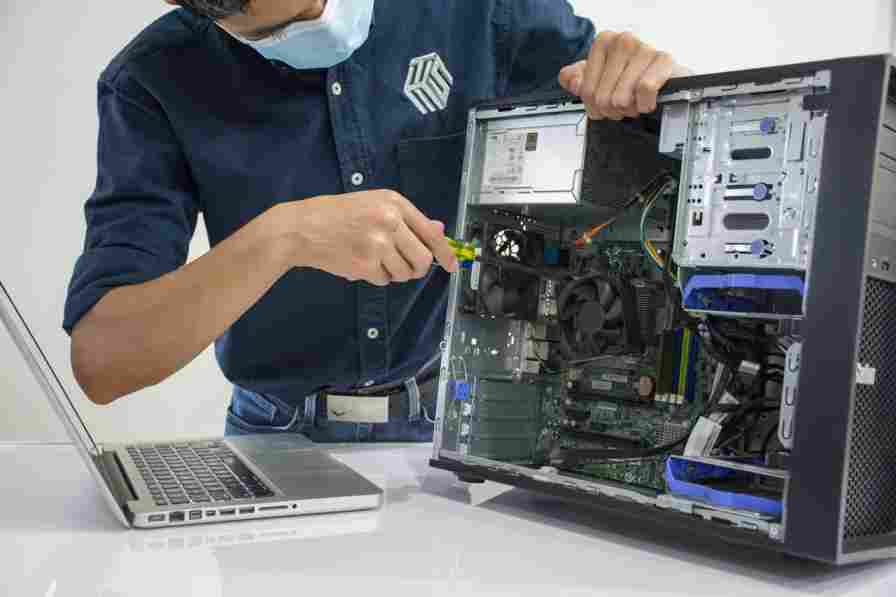
Assembling Your Gaming PC
Installing the CPU
Start by installing the CPU onto the motherboard. Open the CPU socket, align the CPU with the socket, and gently place it in. Close the socket cover and secure it. Apply a small amount of thermal paste if needed.
Adding the RAM and Storage
Next, install the RAM sticks into the DIMM slots on the motherboard. Make sure they click into place. For storage, mount the SSD or HDD in the designated slot in the case and connect it to the motherboard and PSU via SATA cables.
Mounting the Motherboard and GPU
Carefully place the motherboard into the case, aligning it with the screw holes. Secure it with screws. Then, insert the GPU into the PCIe slot on the motherboard and secure it with a screw. Ensure it’s firmly seated.
Wiring and Cable Management
Connect all necessary electrical cables from the power supply to the motherboard, GPU, and storage devices. Use zippers to manage cables properly and ensure good airflow in the case. Double-check all connections before proceeding.
Installing Operating Systems and Drivers
Choosing Your OS
Decide on your preferred operating system. Windows is popular for gaming, but Linux is a free alternative. Download the OS installer onto a USB drive.
Installing the OS
Insert the USB drive into your new PC and boot it up. Once installed, you must set up your user account and preferences.
Downloading and Installing Drivers
Drivers are essential for your components to function correctly. Visit the manufacturer’s websites to download the latest drivers for your motherboard, GPU, and other components. Install these to ensure optimal performance.
Testing and Maintenance
Initial Testing
It’s time to test your build once everything is assembled and the OS is installed. Power up your PC and check if all components are recognized. Use software like HWMonitor to monitor temperatures and ensure everything is running smoothly.
Routine Maintenance
Regular maintenance keeps your PC running efficiently. Clean the interior every few months to prevent dust buildup. Check for software updates and driver updates regularly.
Troubleshooting Common Issues
If you encounter issues, don’t panic. Common problems include loose connections or outdated drivers. Double-check all connections, consult forums, and refer to component manuals for troubleshooting advice.
Conclusion
Now that your gaming PC is up and running, you’re ready to experience the full potential of PC gaming. Building a PC may seem intimidating at first, but with careful preparation and attention to detail, it can be a rewarding experience. Remember to do your research, balance performance and budget, and prioritize static protection during the build process.
You can also read our latest post